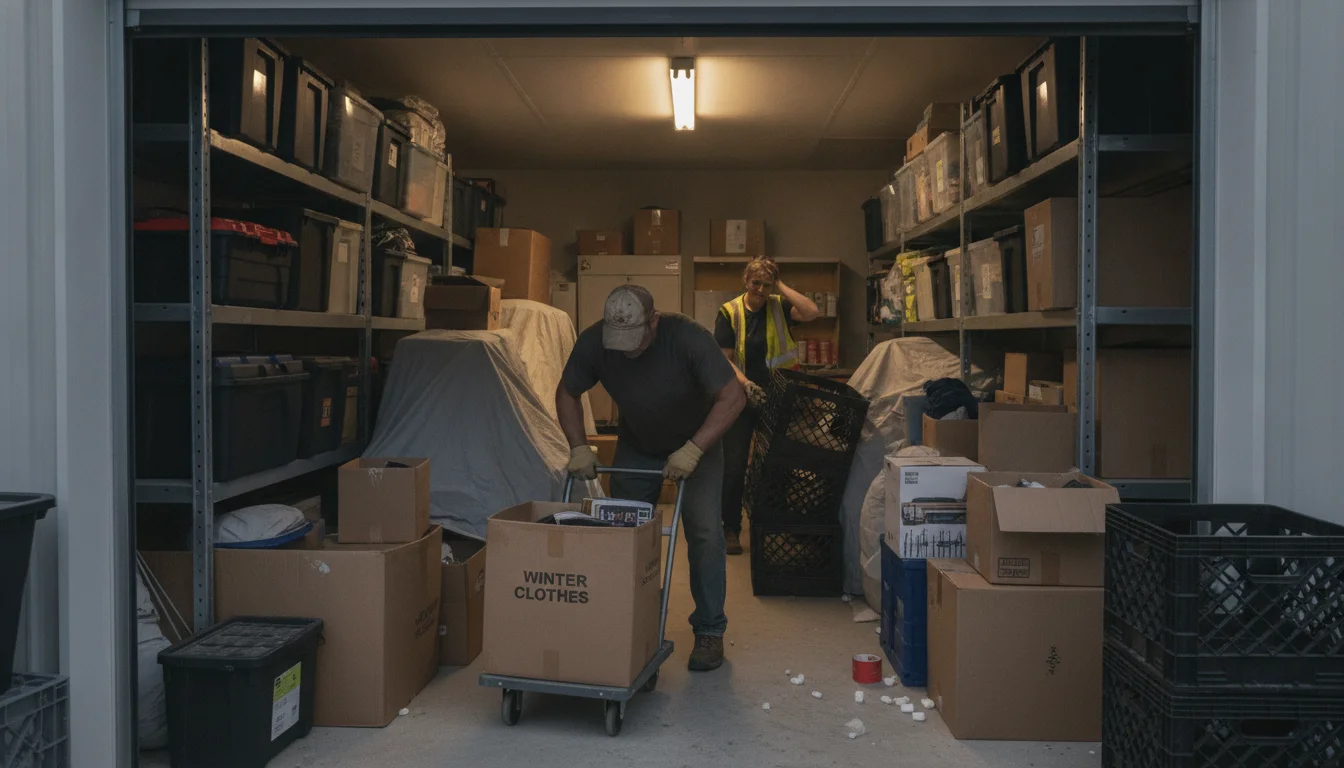
Picking the right storage unit size shouldn’t feel like guesswork. In the first minute, match your rooms and largest items to a unit, then plan a center aisle and shelving so you can reach what you need later. A storage unit size refers to floor area in feet (like 5×5 or 10×20). The simplest rule is to choose the size that covers your room sets and big pieces, and if you’re between sizes, step up one to maintain access and protect fragile items.
Executive summary
- What it is: Storage unit sizes describe floor dimensions (e.g., 10×10) so you can map your furniture “footprints” and box stacks on the ground.
- How to pick fast: Count furnished rooms, list the largest items, estimate box counts, and select a drive-up or indoor unit based on your items.
- Why it matters: A small step up in size often prevents crushed boxes, strained backs, and wasted time digging in later.
Key Takeaways
- Decide with a quick room-and-item list, then plan a center aisle for reachability.
- If you’re torn between two storage unit sizes, choose the larger for safer access.
- Shelving converts height into stable layers and reduces breakage.
- Label clearly and map your layout so you can find items fast months later.
- Climate control helps protect wood, paper, and electronics from heat and humidity.
San Angelo Movers works across San Angelo every week and knows how smart packing saves time and stress for homes and offices alike. A little planning turns move‑in day into a safer, quicker handoff—and it pays off when you return to the unit later.
Start here • Size guide • Measure your stuff • Features that affect capacity • Pack for access • Budgeting and timing • Move-day plan
Start here: the fastest way to pick the right storage unit size
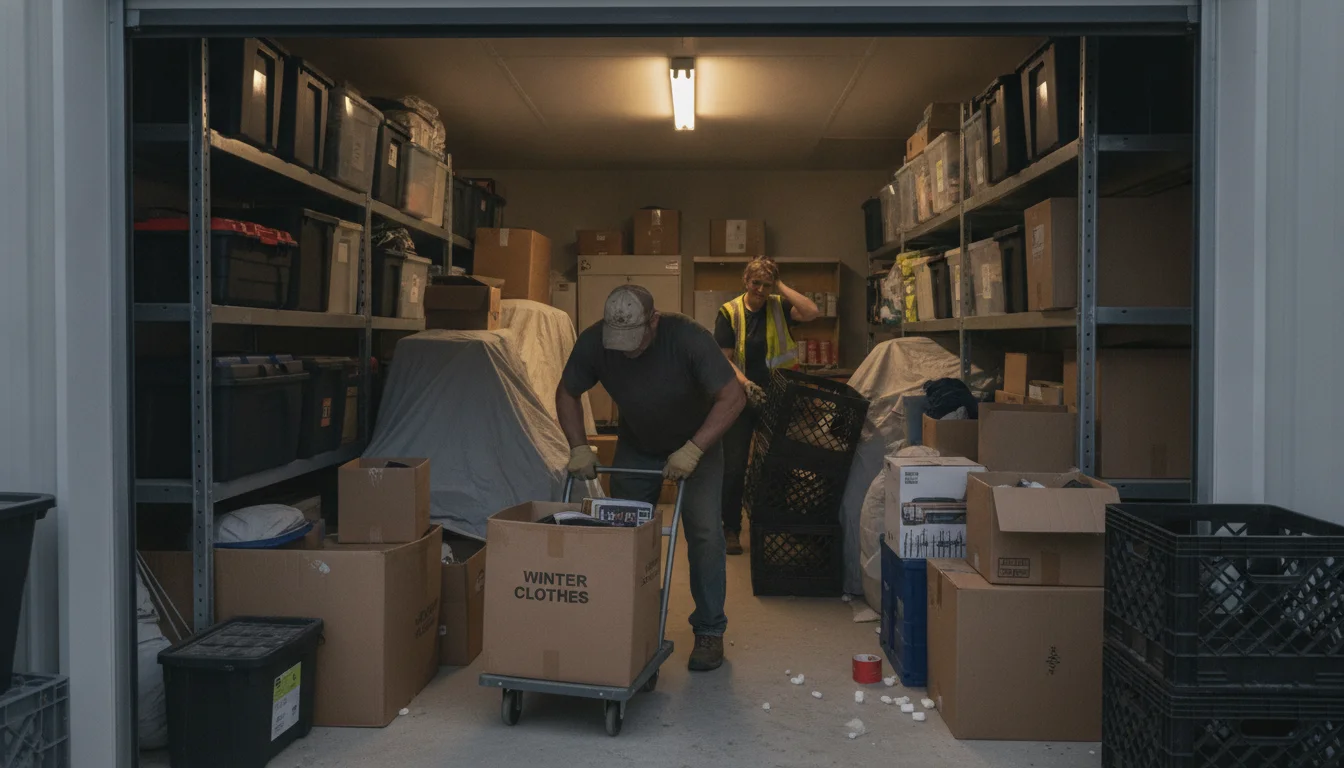
You can land on two likely sizes in about a minute. Count the furnished rooms, list your largest pieces by name, and estimate the number of boxes. This quick snapshot points you to the right range immediately, and the sections below help you refine from there.
A 60-second checklist to narrow your options
- Count “furnished” rooms: bedrooms, living room, dining room, office.
- List big items: sofa, sectional, king bed, dresser, dining table, appliances.
- Estimate boxes: small (books/dishes), medium (linens), large (light items).
- Pick access: drive-up or indoor. Note stairs or elevator.
- Choose margin: if between sizes, go up one size.
This list removes guesswork and sets up your packing layout.
Common mistakes that lead to over- or under-sizing
People often count bedrooms but forget the garage, outdoor gear, or patio set. Tall items like bookcases and wardrobes also add up fast. Another pitfall is planning stacks that are taller than is safe; real-world stacks should stay low and stable. Leave space for a center aisle and room to bend and lift—your back and your belongings will thank you.
Skipping shelves is the last big misstep. Shelving turns vertical height into stable, reachable layers. When uncertain, choose the next size up—it’s easier than renting a second unit or dealing with compressed boxes later.
Size guide by unit dimensions and what fits
Think of each size as a room you already know. A 5×5 is like a small closet; a 5×10 is a walk-in closet; a 10×10 is a small bedroom; a 10×15 is a large bedroom; and a 10×20 is roughly a one-car garage. This mental model makes it easy to match your home to a space.
Walkable examples from studio to 4-bedroom homes
- 5×5: Boxes, small shelves, side tables, a twin bed frame, and decor. Good for first-time renters and seasonal bins.
- 5×10: Studio or small 1-bedroom set. Mattress set, a small sofa, dresser, bike, and 15–20 boxes.
- 10×10: Typical 1–2 bedroom home. Queen bed, sofa, dining table, chairs, dressers, and 25–40 boxes.
- 10×15: 2–3 bedroom home. Sectional, king bed, appliances, bikes, bookcases, and 40–60 boxes.
- 10×20: About a 3-bedroom home. Multiple beds, large sofa, dining set, patio gear, and 60+ boxes. Larger homes often need a 10×30 or two units.
These are guides, not strict rules. Ceiling height, door style, and furniture bulk change the fit. A big sectional or recliner set takes more footprint than a love seat.
Vehicle, office, and specialty storage notes
Some 10×20 units can accommodate small vehicles; always confirm rules about fuel and batteries with the facility. For office storage, plan space for files, sample racks, and tech crates, and reserve a clear aisle so you can pull a box without moving a wall of bins. Instruments, artwork, and wine do better with climate control because heat and humidity can affect wood, glues, and paper—look for indoor units designed to hold a steady temperature and humidity range. For more on how heat and humidity affect organic materials, see the National Park Service’s guidance on temperature and relative humidity.
Heavy specialty items like safes or shop equipment require careful loading and floor protection. Use Loading & Unloading Help to protect floors and backs. For business setups, Commercial & Office Movers can stage your unit so frequently used items sit near the front.
Measure your stuff: cubic feet, boxes, and furniture footprints
Cubic feet equals length × width × height. Boxes list dimensions in inches; multiply and divide by 12 to get feet if needed. Since most facilities quote floor area rather than total volume, think in “footprints” on the ground, then use shelves to build up in safe, reachable layers.
How to estimate volume without a tape measure
You can estimate quickly with simple pacing. Count boxes by size. For furniture, many people use walking steps—one step is about two to two-and-a-half feet. Pace the sofa and table to estimate length and width, and round up a little to include padding and blankets. Stack boxes by weight: heavy on the bottom, lighter up high.
Grouping by zones—bedroom set, living room set, kitchen boxes—helps with loading order later and keeps your plan straightforward.
When ceiling height changes the math
Ceiling height helps, but only to a point. Many units range from about eight to ten feet tall. You won’t stack safely all the way to the roof; head-high stacks (roughly five to six feet) are a practical ceiling for most people. Shelving solves this by creating stable layers, which is why a 10×10 with shelves often holds more usable, accessible volume than a 10×10 with tall, unstable stacks.
Also check door size and type. Roll-up doors need clearance, and tall wardrobes might need a tilt path. Plan that tilt in your layout and leave space to protect corners and edges.
Features that affect capacity: climate control, doors, and access
Not all 10x10s feel the same once you start loading. Features and access affect what you can safely store and how quickly you can move in or out. A drive-up unit behaves like a small garage, while an indoor unit sits inside a building. Each has trade-offs for weight, weather, and time.
Drive-up vs. indoor units and roll-up doors
Drive-up units make loading heavy items faster because you can back the truck right to the door, which helps in rain or heat by reducing walking distance. Indoor units often have longer paths but typically offer climate control—better for wood furniture, documents, and electronics.
Roll-up doors provide wide, clear openings. Swing doors may limit tall or bulky items. Measure your largest piece and confirm it clears the door height and width. If using an indoor hallway, also check corner turns.
Security, hours, elevators, and cart access
Security shapes how and when you pack. Gated access and cameras provide peace of mind. Confirm gate and office hours if you plan evening or early-morning work. Elevators and carts reduce strain; ask how many carts are available and whether you can reserve one during busy move-in windows.
For glass, dishes, and mirrors, Packing Services can wrap delicate pieces with the right materials. Proper dish packing uses paper, bubble wrap, and tight box fills. Plates ride on edge with padding between them, while bowls sit in crumpled paper nests. Label clearly by room.
Pack for access: layouts, shelving, and safe stacking
A good layout prevents time-wasting reshuffles months later. Aim to reach the back without dismantling walls of boxes. Plan a center aisle from the door to the rear, place shelves along both sides when possible, and keep heavier items low with clear paths for knees and feet.
Create a center aisle and simple map
Sketch your unit and draw a center aisle at least two feet wide. Mark shelf zones left and right. Put the largest furniture along the back and sides, keep vents and doors unobstructed, and tape your map to the inside wall by the entrance. Take a photo for your phone and update it if you move things.
A simple map lets helpers work independently. If friends or Apartment Movers pitch in, they can follow the map without you directing every bin.
Labeling system and item tracker you’ll actually use
Use big, bold labels on two sides of each box, listing the room and a short contents note. Add a box number and keep a simple list on your phone: Box 12, “Kitchen: bowls, mugs, wrap.” Color tape helps group rooms at a glance. Keep a small “open first” bundle for each room.
For fragile packing, remove empty spaces so nothing shifts. Plates get wrapped individually and stand on edge in a dish box; bowls need padding between each and around the sides. If you use bubble wrap on plates, one to two layers is typically enough when boxes are snug and lined. Mark at least two sides “fragile.”
Budgeting and timing: prices, promotions, and how long to rent
Costs vary by size, features, and time of year. You don’t have to lock a final choice before you know your load. Ask about short holds and whether you can change sizes quickly if your first pick is off. Set your rental start a few days before move day when you can—it lowers stress if weather or schedules shift.
Insurance, deposits, and cancellation fine print
Read the agreement. Many facilities require proof of insurance or offer a policy. Confirm what’s covered—such as theft, fire, or water-related events—and note deposits, refunds, and the notice period for ending your rental. Ask about gate codes, access hours, and any specific lock type required.
If a lock isn’t included, consider a disc lock, which generally resists cutting better than basic padlocks. Keep a spare key in a secure place.
Ways to save without risking damage
Pick the smallest unit that still allows a safe center aisle. Use shelves to turn height into real, stable capacity. Disassemble beds and tables, and bag the hardware in a labeled box. Stack by weight and item strength, and use uniform boxes where possible to reduce voids and leaning stacks.
If you expect a long hold, ask about month-to-month renewals or prepay options and clarify move-out rules. Some people co‑rent a larger unit with a trusted friend if the site allows it—keep each area mapped and clearly labeled.
Move-day plan and pro help: loading order, transport, and handoffs
A simple move‑day plan protects your items and keeps you on schedule. Load the truck by weight and room, then unload into the unit following your map. Keep paths clear and use dollies and straps. Planning the order up front helps if timing slips or the forecast changes.
Coordinating movers, trucks, and storage timelines
Start with dates. Book the unit, then book your truck or movers. If you need labor only, Loading & Unloading Help is ideal. For packing and delicate prep, use Packing Services. If you’re moving across states, Long Distance Movers can sync pickup and drop-off with storage access and facility hours. Share gate codes and hours in writing and keep a copy on your phone.
If you’re downsizing or handling a PCS move, mark what should stay handy. Seasonal clothing, kids’ items, and work files should live near the front. Label them “front” so you’re not hunting in the first weeks after move-in.
Checklist to finish in one trip
- Confirm unit size and access hours the day before.
- Stage boxes by room near the door at home.
- Load heavy furniture first. Then appliances. Then boxes.
- Keep dish boxes upright. Mark arrows and “fragile.”
- Unload by your map. Build shelves first if you have them.
- Make a clear center aisle. Photograph the final layout.
These steps turn a long day into a smoother one and help protect both your back and your belongings. For lifting safety tips, see OSHA’s guidance on safe manual handling practices.
Key takeaways
- Pick a unit with a center aisle in mind, not max stacks.
- If between two storage unit sizes, choose the next size up.
- Shelves make height usable and keep fragile items safe.
- Label and map so you can find things fast months later.
- Climate control is best for wood, paper, and electronics.
Frequently Asked Questions
How do I choose between a 5×10 and a 10×10?
List your largest items and count boxes. A 5×10 often fits a studio set and roughly 15–20 boxes. A 10×10 typically fits a 1–2 bedroom home with around 25–40 boxes. If you want a center aisle or you have a sectional, go with the 10×10.
Do I need climate control for storage?
If you’re storing wood furniture, photos, instruments, documents, or electronics, it’s wise. Climate control helps maintain steadier temperature and humidity, which reduces risks like warping, mold, and glue failure. For short-term holds of metal or plastic gear, a drive-up unit may suffice.
What is the best way to pack dishes and plates?
Wrap each plate and bowl. Plates ride on edge in a dish box with padding; bowls need paper nests between and around them. Fill gaps so nothing shifts and label two sides “fragile.” For longer holds, climate control helps protect paper labels and ceramic glazes from moisture.
How high can I safely stack boxes?
Aim for chest to head height for most stacks. Heavy boxes go low, lighter ones high. Uniform box sizes stack more securely. Whenever possible, use shelving to convert height into stable tiers rather than relying on tall stacks.
Can movers load my unit for me?
Yes. Movers can load and stage your unit by the map you create. Loading & Unloading Help is great for this. For detailed wrapping and crating, book Packing Services. For a full office or complex commercial setup, consider Commercial & Office Movers to organize access and speed up retrieval.
San Angelo Movers can help plan, pack, and stage storage the right way. If your move is part of a larger plan in San Angelo, the crew can align dates and handoffs so your unit, truck, and home timeline stay in sync.
Note: Climate guidelines vary by facility and region. For preservation fundamentals on temperature and humidity, see the National Park Service’s museum care page on temperature and relative humidity. For safe lifting and handling advice, consult OSHA’s materials on manual lifting techniques.
If you’re unsure about the right unit size, features, or layout, get local advice before move day to keep things accessible and protected. Contact us.
If you are not sure which of these you are dealing with, it is worth having someone look at it before it turns into a bigger job. Get in touch with San Angelo Movers today and we will tell you where you stand.